During the Baseball game rain delay I went out to the shed and did the removal and installation of the u-joints in the drive shaft. I took pictures so I could share them with anyone that needed them. Keep in mind there are many different methods that people use to do this operation. This is just one of them. Many use a torch but since my shed is made of wood I thought that wasnt the best choice. Wood and fire just dont mix very well!
 http://i1014.photobucket.com/albums/af270/rod7515/U%20joint%20install/PA094437.jpg
 This is the tool I use. Its actually my ball joint removal / installation tool as well for trucks. Probably one of the best tools I ever bought and its just under a $100!
http://i1014.photobucket.com/albums/af270/rod7515/U%20joint%20install/PA094438.jpg I spray the end cap clips with a good penetrating oil(they rust tight). Then I use a screw flat blade driver to tap the ends loose.
http://i1014.photobucket.com/albums/af270/rod7515/U%20joint%20install/PA094439.jpg Once the clips are loose I remove them using a needle nose pliers.
http://i1014.photobucket.com/albums/af270/rod7515/U%20joint%20install/PA094440.jpg I use a spacer that allows me to push the joint over about 1/16th". Once the joint moves I remove it and just use my clamp to push it the rest of the way as you can see in the next pic.
http://i1014.photobucket.com/albums/af270/rod7515/U%20joint%20install/PA094442.jpgClamp is now in place and ready to push the joint. I begin to tighten the clamp which pushes the joint in the opposite direction. If using a standard c-clamp you may need to use a deep well socket to allow the cap to come out the other side.
http://i1014.photobucket.com/albums/af270/rod7515/U%20joint%20install/PA094443.jpgThe cap may not come out completely while using the c-clamp because the joint bottoms out on the shaft. As you can see in the next pic I just use a vice grip to pull it off the rest of the way.
http://i1014.photobucket.com/albums/af270/rod7515/U%20joint%20install/PA094444.jpg As you can see the cap is easily removed from the shaft with just a vice grip once you have pushed it out using your clamp.
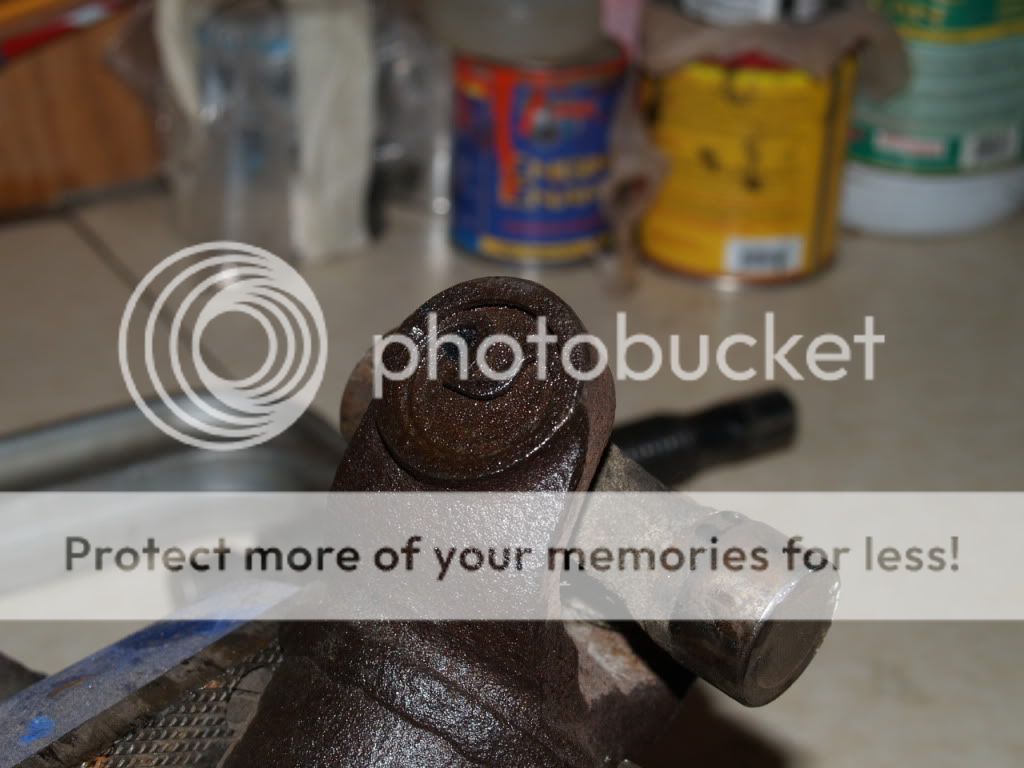
http://i1014.photobucket.com/albums/af270/rod7515/U%20joint%20install/PA094445.jpgOnce the first cap is removed i roll the driveshaft over positioning the u-joint into my vice a tap the joint back the other way using a hammer and just tapping on the weld on the drive shaft. You can see the light brown spot on the weld where I am tapping. I dont have to use a lot of force or beat very hard on the shaft. If the joint is tight and dont want to come out using this method then go back to the c-clamp to drive it out.
Once the u-joint is out I reverse the procedure to put the new joint back in. Since I do this often I usually dont use a clamp to reinstall the new joint. I use only a hammer and feel! When installing the new joint you must install the joint before any caps. Once a cap is installed the joint wont fit in! The safest way is to start the first cap into the shaft with the joint already in the cap, then use your vise to squeeze the cap in farther. Next take your c-clamp and drive the cap into the shaft, you will need to use a socket to push the cap past the c-clip retainer area. By doing this you will allow the next cap to engage over the u-joint. This will keep the bearing pins in place. Next I install the c-clip in the opposite end then push the joint back into the shaft until it touches the c-clip on the other side. Then install the last c-clip. The joint will be tight in the shaft at this time so I always hit the shaft at the cap ends to release the tightness. This allows the joint to center itself and becomes loose. Now install the shaft and off for a drive.
HELP!!! Not sure what Im doing wrong that the pics wont come up, maybe Joel or someone can fix it and let me know why its not working. I think this is the way I did it in the old forum?
Rodney
(inserted live links-aapple)
|UPDATED|10/9/2011 8:30:53 AM (AZT)|/UPDATED|
______________


